Hello there, fellow adventurer. You are ready to explore the British wilderness. You have your boots, your map, and your sense of adventure. But your backpack is a mess. It is heavy, disorganized, and frustrating. A poorly packed bag ruins a good trip. It causes sore shoulders, wet gear, and wasted time.
Wild camping in the UK is demanding. The weather changes fast, the terrain is steep, and the bogs are deep. You need a system that works. You need to pack smart, move fast, and stay dry.
Here are the seven mistakes you are making with your backpack. Follow these fixes to transform your next camping adventure uk.
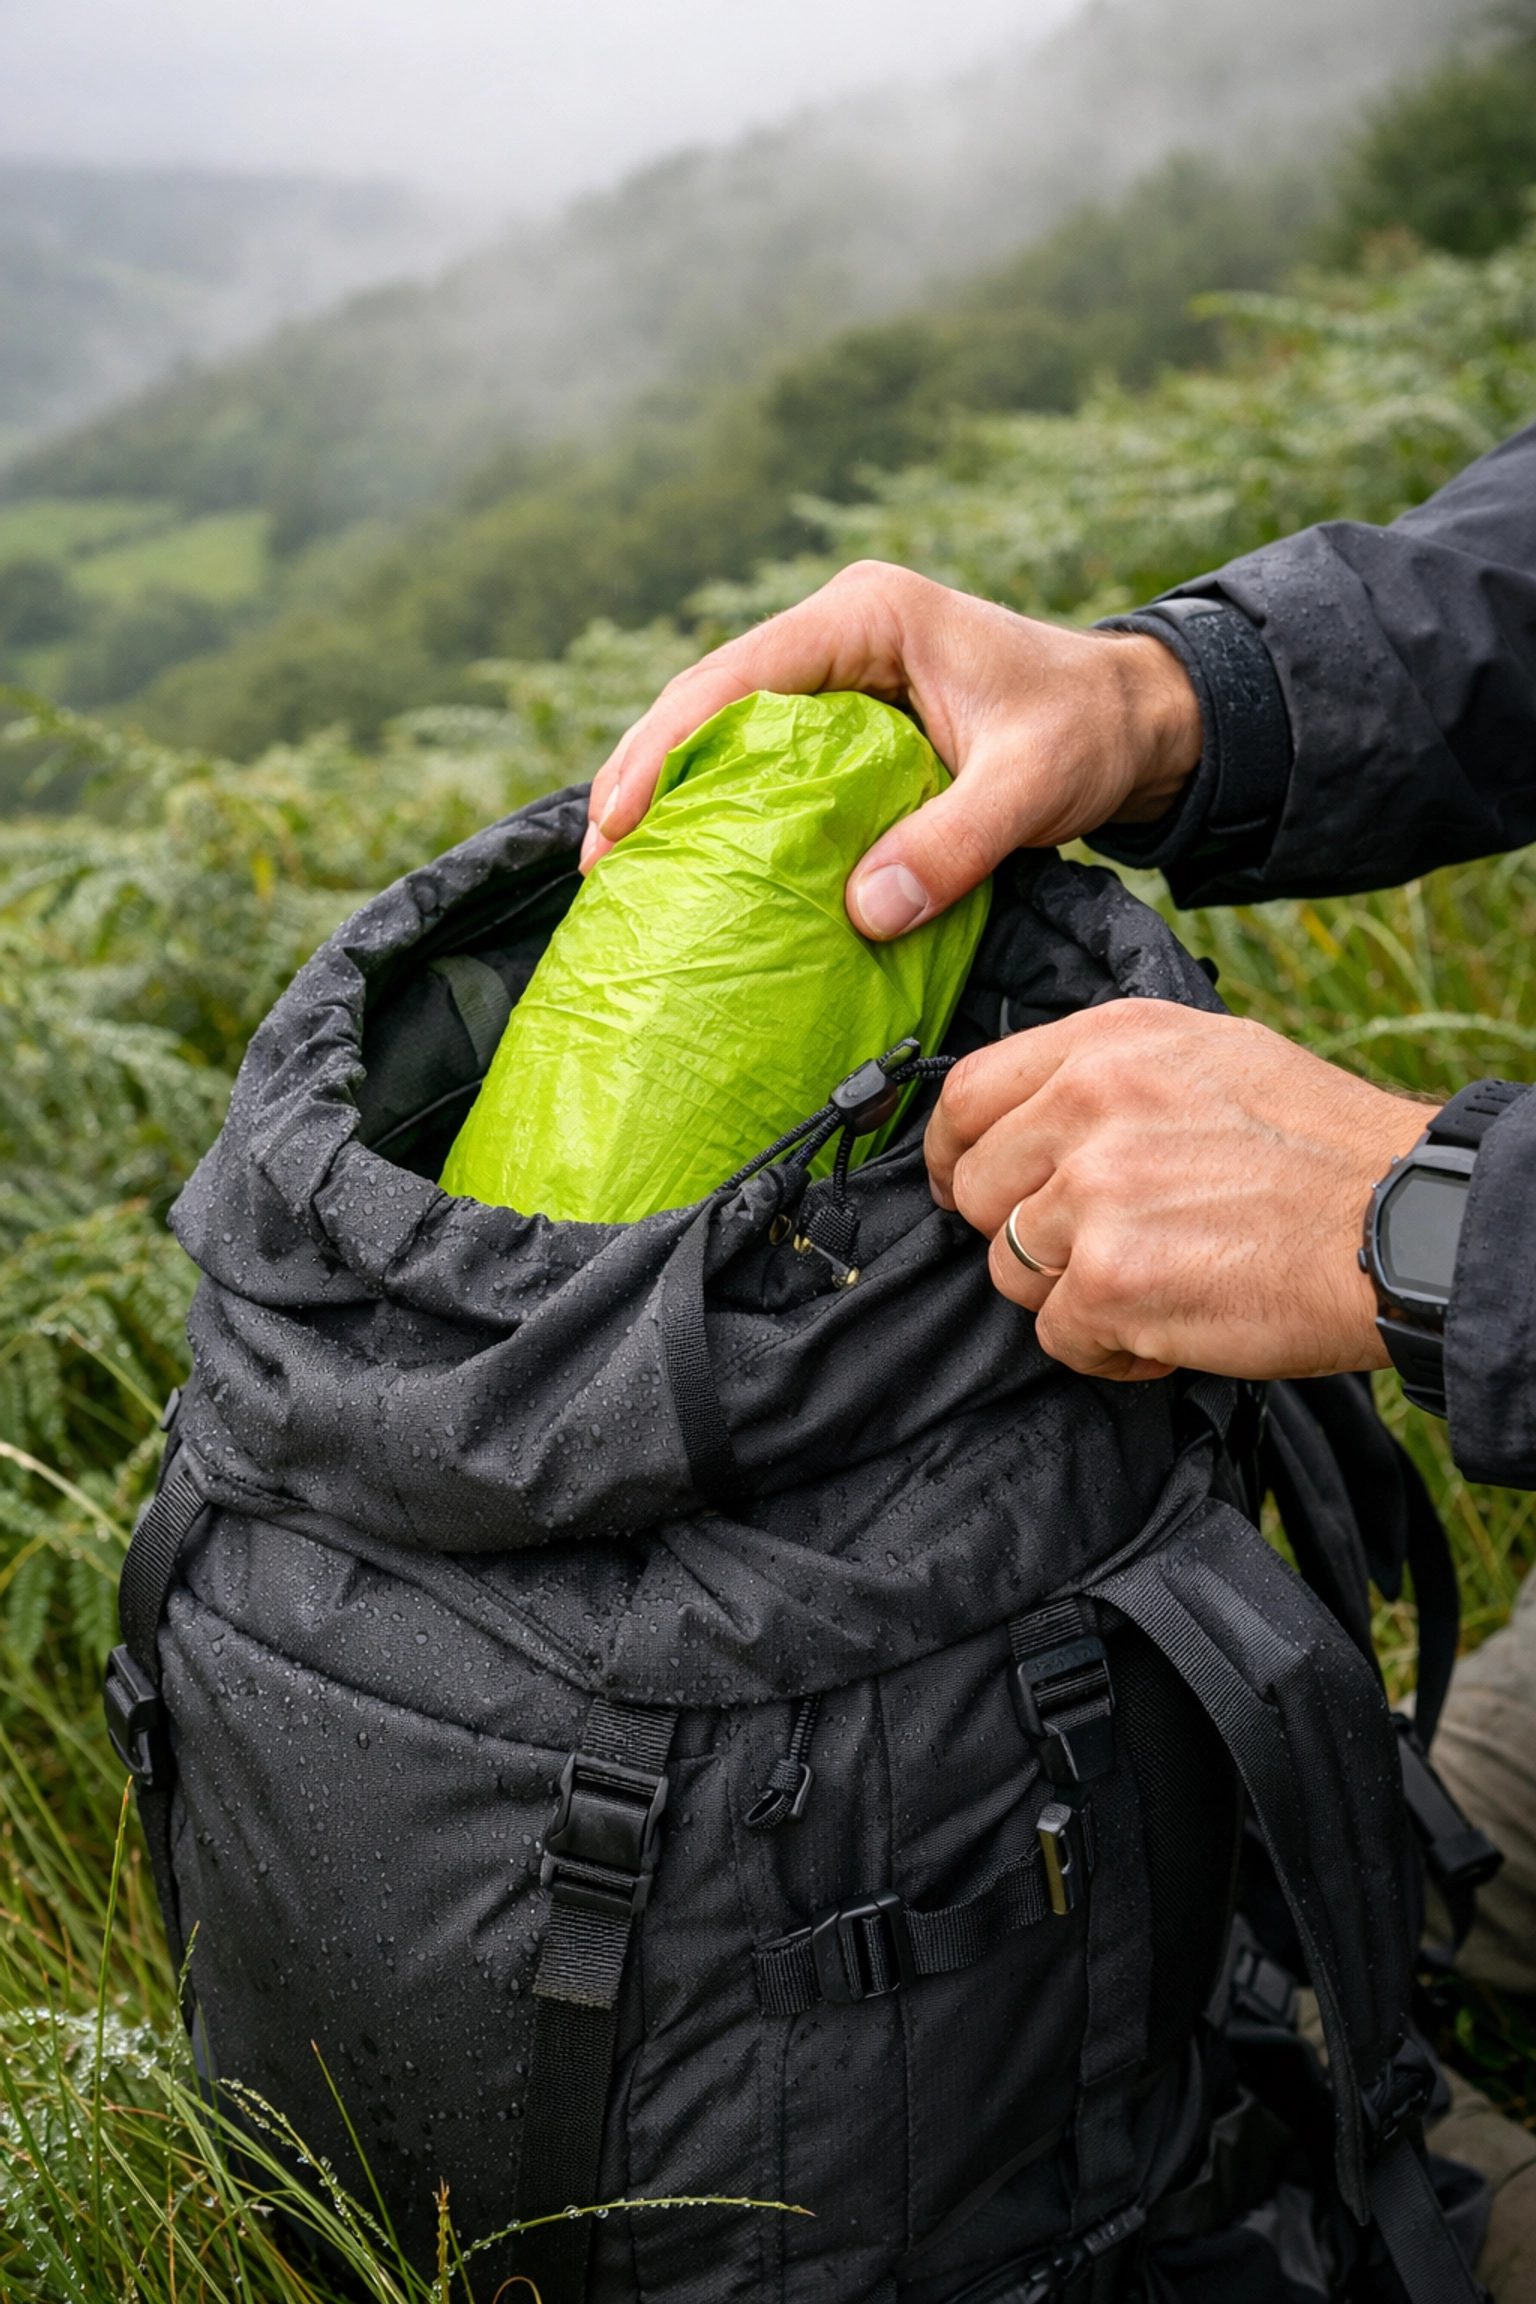
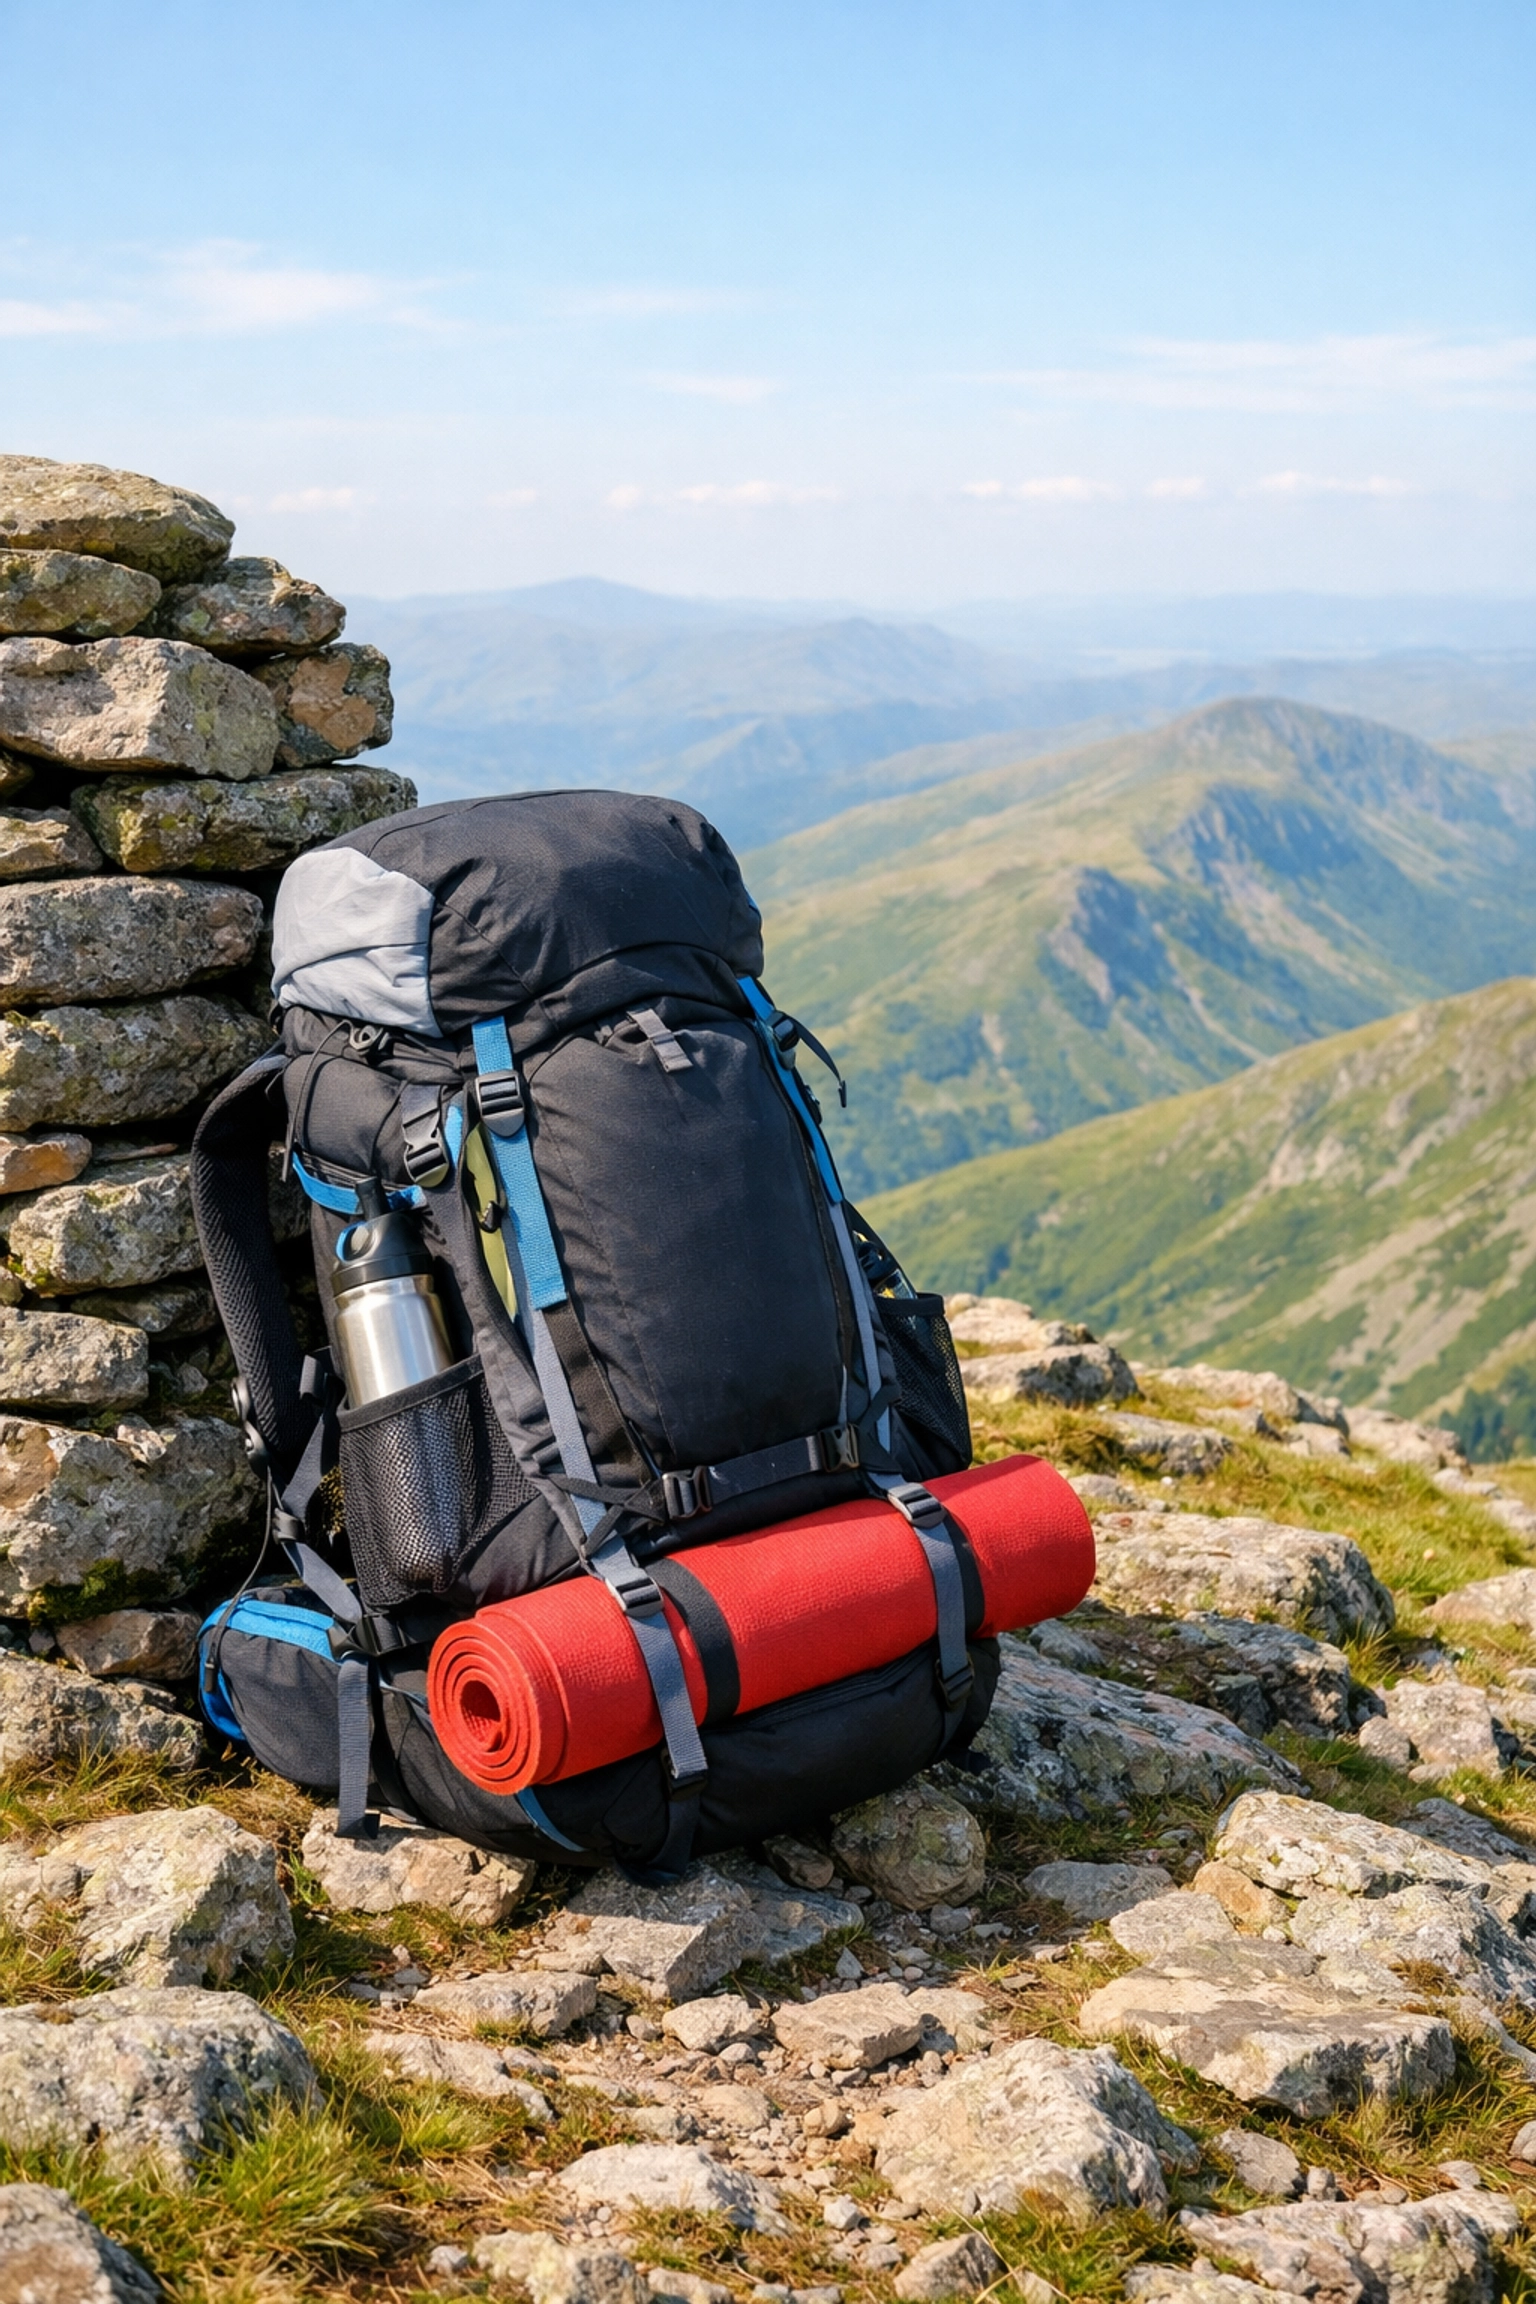
1. Burying Your Shelter at the Bottom
You finish a long day of hiking. The rain starts to fall. You need your tent now. You open your bag and find your sleeping bag. Then your spare clothes. Then your stove. Your tent is at the very bottom. Everything else gets wet while you dig. This is a classic mistake.
Do not put your shelter at the bottom. The bottom is for items you only need when you are safely inside your tent. Your tent is your priority.
The Fix:
Place your tent near the top of your main compartment. Or, strap it to the outside if your pack allows. Keep it accessible. When the clouds burst, you should reach your shelter in seconds. If you are on a wild camping guided uk trip, your guide will thank you for being fast.
2. Bringing the Entire Kitchen Sink
You think you need four torches. You pack three knives. You bring five pairs of heavy trousers. Your bag weighs 20 kilograms. Your knees hurt before you leave the car park. This is overpacking. It is the most common error for beginners.
Excess weight slows you down. It makes you tired. It increases the risk of injury on uneven UK trails. You do not need "just in case" items. You need essentials.
The Fix:
Be ruthless. Lay everything on the floor. Group your items. Remove duplicates. If you have two tools that do the same job, leave one behind. A smaller backpack helps. Choose a 45 to 55-litre pack. It forces you to prioritize. For more help on what to keep, check these outdoor survival skills.
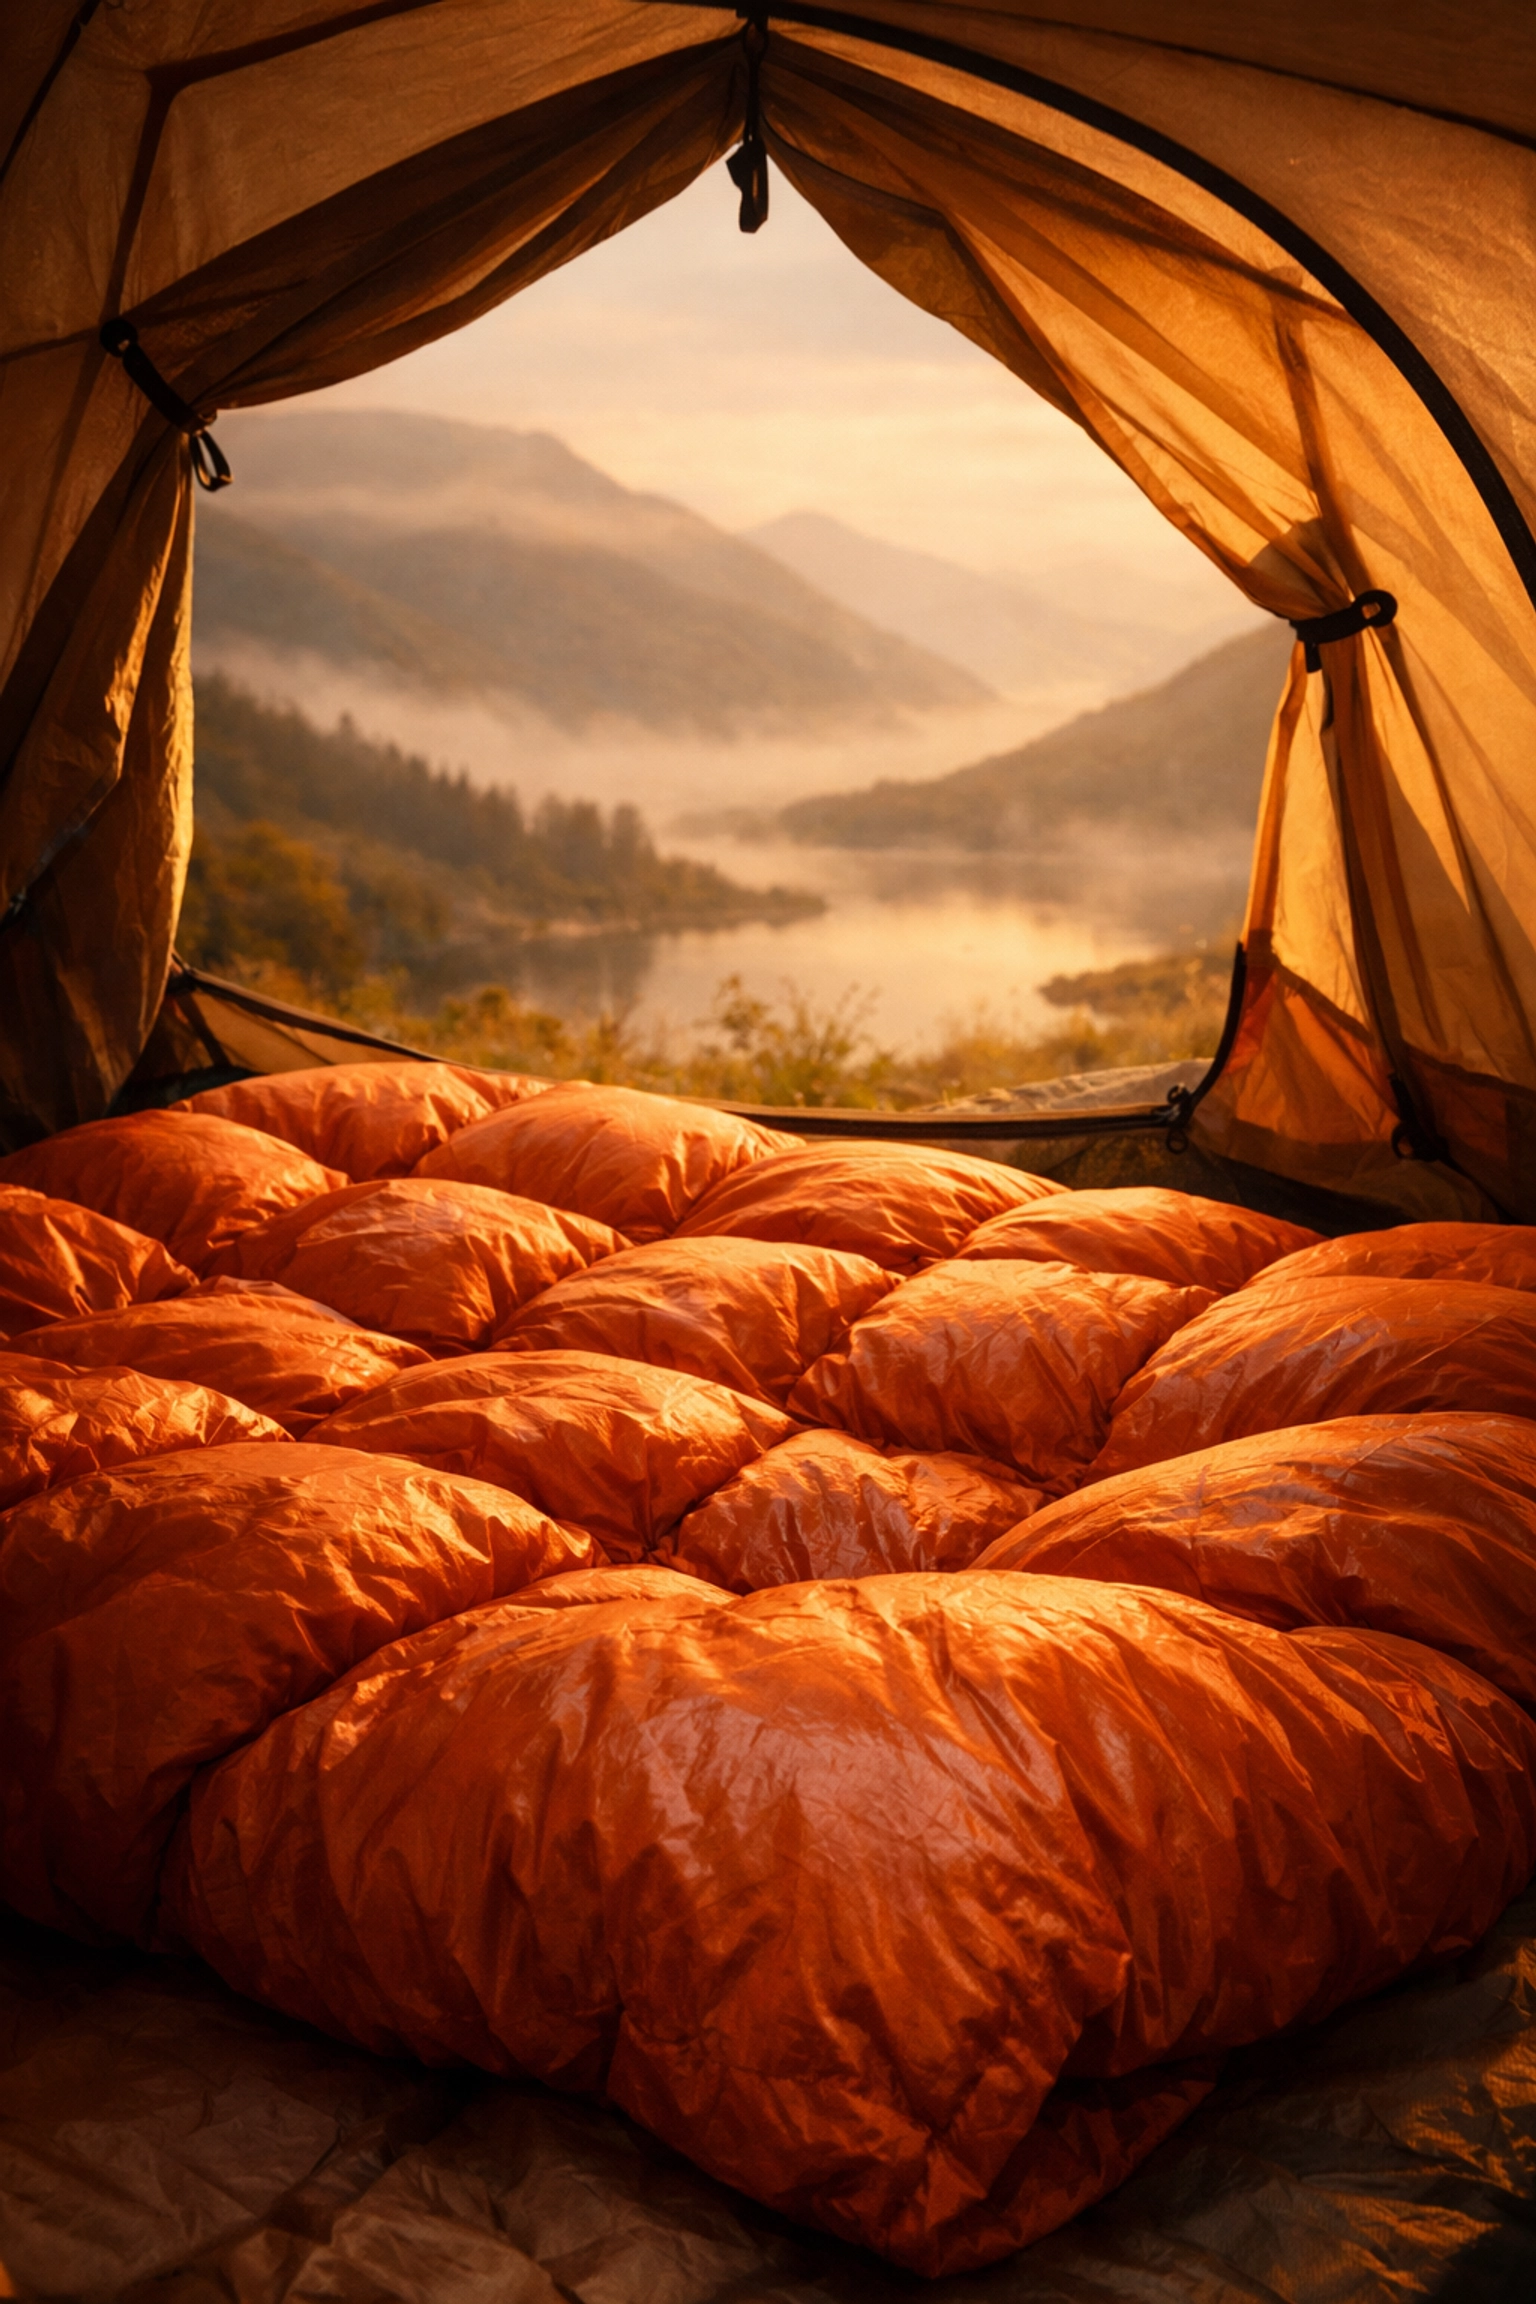
3. Trusting the Sleeping Bag Temperature Rating
The label says "Comfort -5°C." You believe it. You head into the Scottish Highlands in October. You spend the night shivering. You cannot sleep. You are exhausted the next day. This happens because manufacturer ratings are often optimistic.
Ratings are based on lab conditions. They assume you are using a high-quality mat and wearing thermal layers. They do not account for humidity or wind chill. The UK is damp. Damp cold feels much colder than dry cold.
The Fix:
Always add a buffer. If the forecast says 0°C, bring a bag rated for -5°C or -8°C. Treat the "Limit" rating as a survival rating, not a comfort rating. Sleep with a hat on. Wear clean, dry socks to bed. Warmth is weight, but it is worth it.
4. Using a Thin Mat with No Insulation
You bought a cheap air mattress. It is light and small. You think it will be fine. You lie down and feel the cold ground stealing your body heat. You wake up every hour. The ground in the UK is a heat sink. It will freeze you even if the air is mild.
A mat without an R-value rating is just a balloon. You need insulation between you and the earth. Without it, your expensive sleeping bag cannot do its job.
The Fix:
Check the R-value of your mat. For UK wild camping, you want an R-value of 3 or higher. In winter, aim for 5. If your mat is thin, add a closed-cell foam pad underneath. It is a light way to boost warmth. Explore more essential survival skills to stay warm.
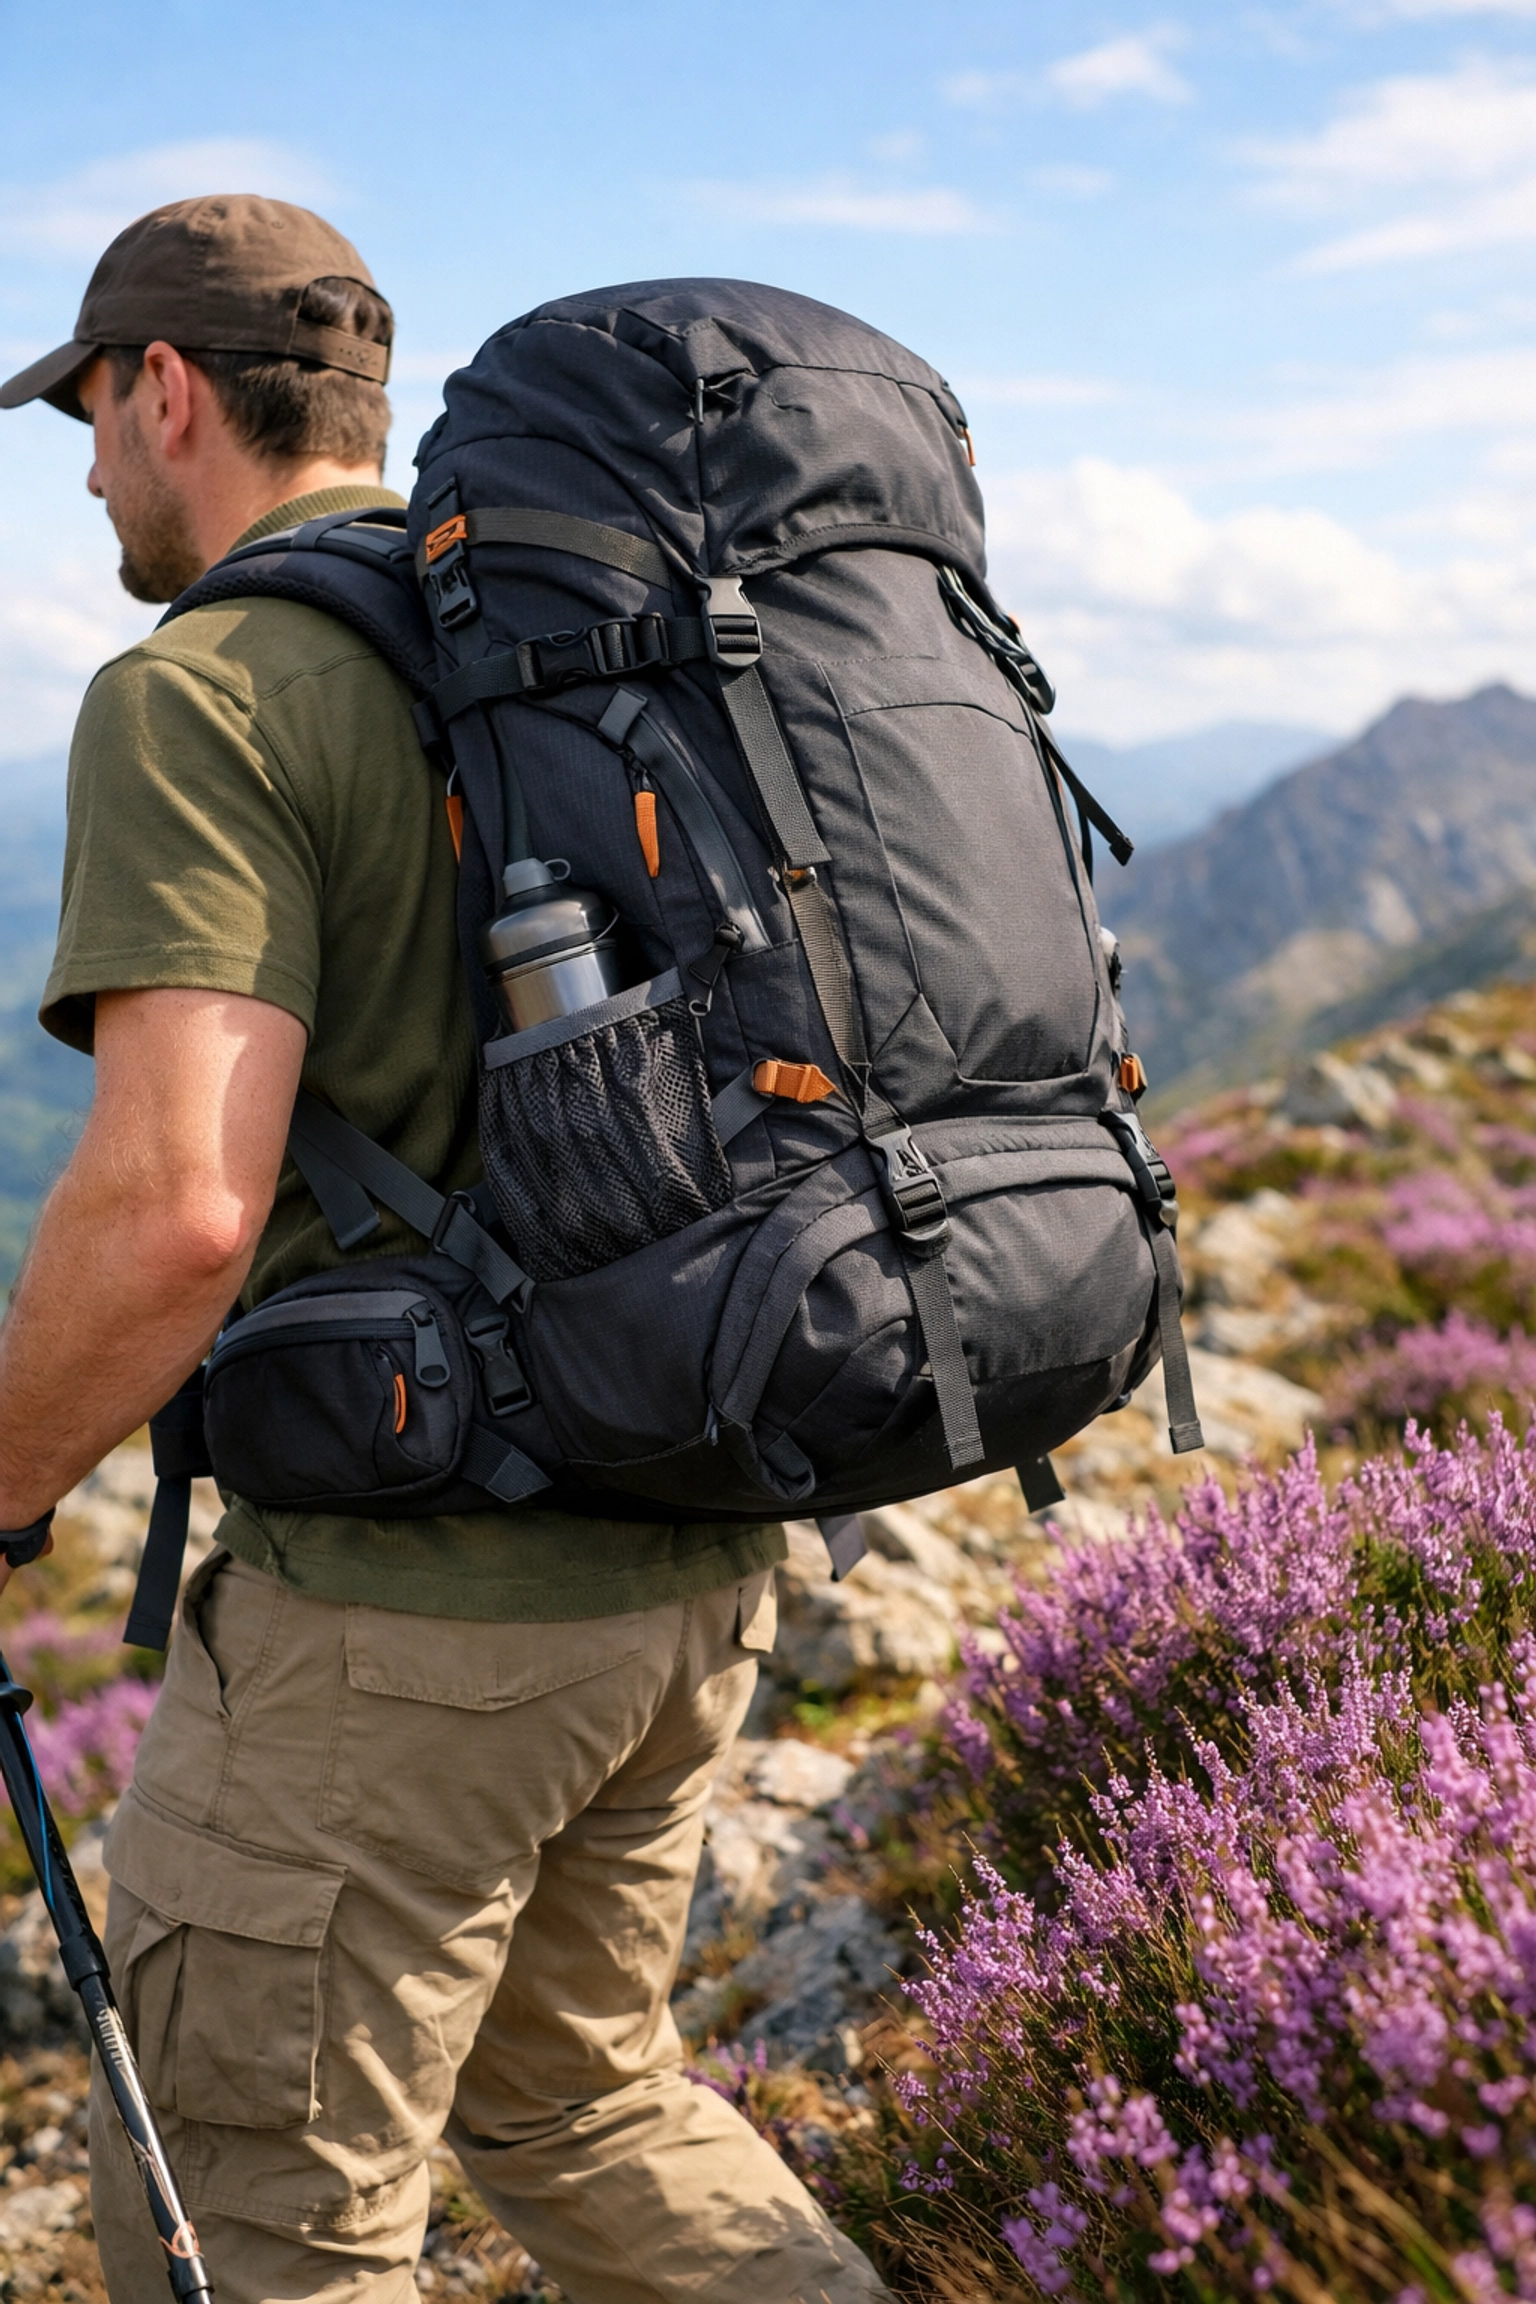
5. Choosing the Lightest Pack Over the Right Pack
Ultralight gear is popular. You buy a pack that weighs 500 grams. You load it with 12 kilograms of gear. The thin straps dig into your shoulders. The frameless back bends against your spine. You are in pain after three miles.
A light pack is only good if your total load is very light. If you are carrying water, food, and a tent, you need structure. You need a frame that transfers weight to your hips.
The Fix:
Match your pack to your load. A slightly heavier pack with a solid suspension system feels lighter than a flimsy ultralight pack. Look for wide, padded hip belts. Make sure the torso length fits your body. Comfort beats a few saved grams every time. If you are looking for new routes to test your gear, try these UK hiking trail ideas.
6. Mixing Your Wet Tent with Dry Gear
It rained all night. Your tent flysheet is soaking wet. You stuff it back into its bag. You shove it inside your backpack next to your spare down jacket. By lunchtime, your jacket is damp. Your sleeping bag is damp. Everything is ruined.
Water travels. If you put a wet object in a confined space with dry objects, everything becomes wet. This is a recipe for a miserable trip.
The Fix:
Separate your wet gear. Shake the water off your flysheet. Store it in an external mesh pocket or strap it to the bottom of your pack. If it must go inside, use a dedicated waterproof dry bag just for the wet tent. Never let the inner tent touch the wet outer flysheet during the day.
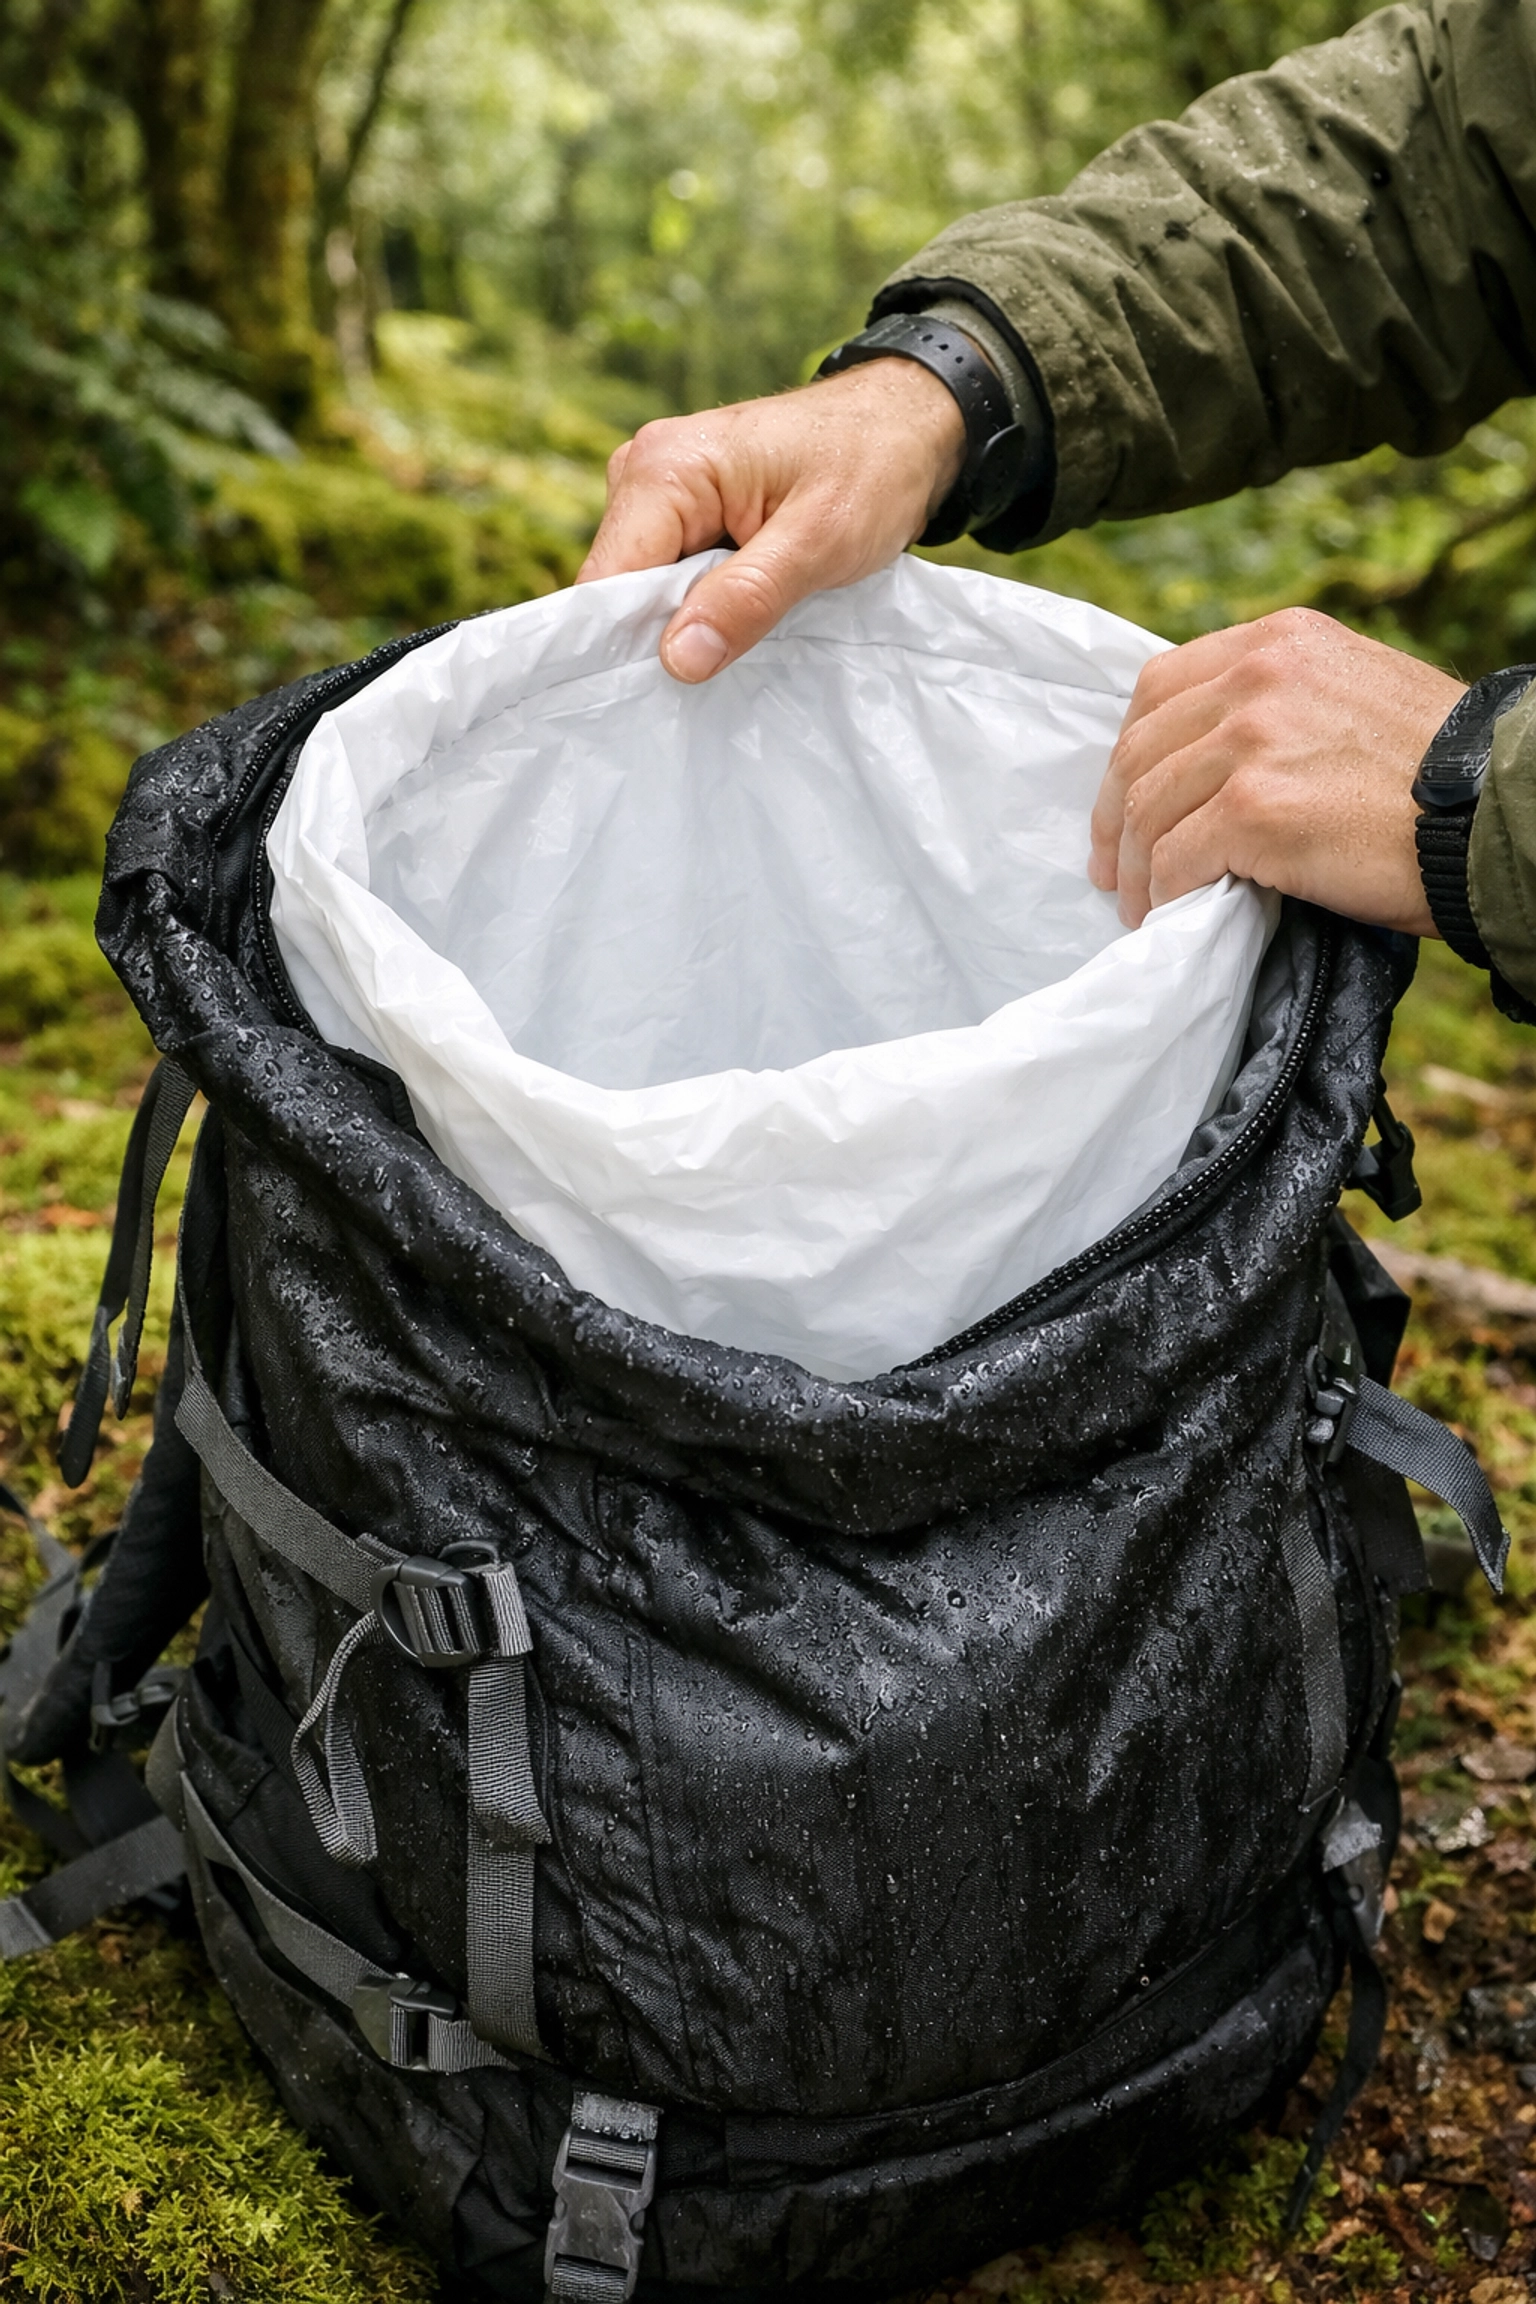
7. Relying Only on the Pack Cover
Your backpack says "waterproof." Or you have a rain cover that came with it. You trust it. You walk through a storm on the moors. The wind blows the cover aside. Water runs down your back and into the top of the bag. Your electronics are fried. Your dry clothes are soaked.
Pack covers are wind sails. They flap around. They catch on branches. They do not protect the back panel where your sweat and rain meet.
The Fix:
Use an internal liner. A heavy-duty bin bag or a dedicated waterproof pack liner is best. Put everything inside the liner. Roll the top down tight. Now your gear is in a waterproof bubble. Even if the backpack fabric gets saturated, your essentials stay dry. This is a vital part of mastering outdoor survival skills.
Bonus Tip: The Weight Distribution Rule
Don't just throw things in. Think about balance.
The Bottom: Light, bulky items. Sleeping bag and base layers.
The Middle (Close to Back): Heavy items. Food, water, and stove. Keep this weight centered between your shoulder blades.
The Top: Medium weight and essentials. Tent, waterproofs, and first aid kit.
Pockets: Snacks, map, compass, and headlamp.
If the weight is too high, you will wobble. If it is too low, the pack will pull on your shoulders. If it is too far from your back, it will drag you backward.
Summary of Commands for Your Next Pack:
- Put the tent at the top.
- Remove the extra gear.
- Check the bag's comfort rating.
- Use an insulated mat.
- Choose a pack with a frame.
- Keep wet gear on the outside.
- Use a waterproof liner inside.
Your backpack is your life support system. Treat it with respect. Pack it with intention. A well-organized bag makes the miles feel shorter and the views look better. You are now ready to tackle the hills.
Go to your gear cupboard and start a practice pack today.